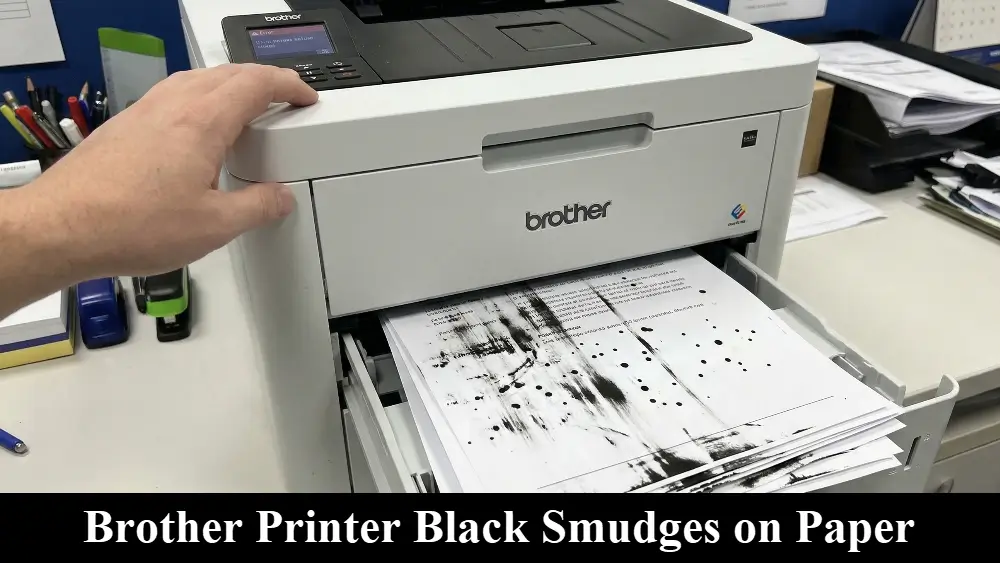
Nothing is more frustrating than preparing to print an important document, only to discover you have a “Brother Printer Black Smudges on Paper” problem.
These unexpected marks can make professional invoices, reports, or school assignments look messy and unprofessional
The good news is that in most cases, this is a very solvable problem. You don’t need to be a tech expert to fix it, and you certainly don’t need to rush out and buy a new printer.
This guide will walk you through the most common reasons for this issue and provide clear, actionable steps to get your printer working perfectly again.
In a Hurry? Here’s the Quick Fix
The most common reason for Brother printer black smudges on paper is a dirty or contaminated drum unit.
Foreign debris like dust, paper particles, or toner residue on the drum surface is the primary culprit.
This guide provides detailed, step-by-step instructions to safely clean your printer’s drum unit and other key components, resolving the issue for most users and restoring clean, professional print quality.
Common Causes Of Brother Printer Black Smudges On Paper
When your printer starts producing smudged pages, it’s usually pointing to one of a few specific issues. Understanding these potential causes is the first step toward fixing the problem.
In many situations, the culprit is simple and easy to address without needing technical assistance. Let’s explore the most frequent reasons you might be seeing black smudges on your documents.
A Dirty or Contaminated Drum Unit
The single most common cause of a Brother printer black smudges on paper situation is a dirty drum unit. The drum is a critical component in a laser printer that transfers the toner (powdered ink) onto the paper.
Over time, tiny particles of dust, paper fibers, or even glue from envelopes can get stuck to the drum’s sensitive surface. When this happens, the debris picks up toner and transfers it onto your page, creating those unwanted smudges and spots.
According to official Brother support documentation, these foreign materials are the primary reason for such print quality issues.
Because of this, the first and most effective troubleshooting step is almost always to inspect and clean the drum unit.
Incorrect Paper Type or Print Settings
Another surprisingly common issue is a mismatch between the paper you are using and the printer’s settings.
Laser printers use heat to fuse the toner to the page, and different types of paper require different temperature settings.
For example, if you are printing on thick cardstock or glossy labels but your printer is still set to “Plain Paper,” the fuser may not get hot enough to properly bond the toner. As a result, the toner doesn’t fully adhere and can easily smudge.
As noted in a comprehensive guide by Toner Buzz, using the correct paper type is critical.
Always ensure your paper meets the specifications outlined in your printer’s manual and that the print driver settings match the media you have loaded.
A Faulty or Low-Quality Toner Cartridge
Finally, the toner cartridge itself can be the source of the problem. A damaged or defective cartridge might leak toner, leading to your Brother printer black smudges on paper scenario.
This is particularly common with third-party or refilled cartridges that may not meet the same quality standards as genuine manufacturer supplies.
If you have recently replaced your toner cartridge and the smudging issue began shortly after, the new cartridge could very well be the cause.
Therefore, ensuring you use high-quality, compatible toner is an important part of troubleshooting.
Buildup on Printer Rollers
Beyond the main drum, your printer has a series of smaller rollers that guide the paper along its path.
Over many print jobs, these rollers can accumulate paper dust and toner residue. This buildup can then transfer onto the edges or surface of your paper, creating consistent smudges or streaks.
Regularly cleaning the paper path rollers can be an effective preventative measure, especially if you notice the marks are concentrated along the edges of the page.
Advanced Troubleshooting For Brother Printer Black Smudges On Paper
If you have thoroughly cleaned the drum unit but the black smudges persist, it’s time to investigate some less common but equally important potential issues.
Advanced troubleshooting involves looking at other components that play a role in the printing process. These steps can help you pinpoint more complex problems.
Investigating the Fuser Unit
The fuser unit is a pair of heated rollers that melts the toner powder and presses it permanently onto the paper.
If the fuser is not working correctly, the toner will not bond properly, leading to smudges that you can often wipe off the page with your finger.
A faulty fuser is a significant cause of toner smudging.
To check this, first, ensure your printer’s driver settings are correct for your paper type, as using a “Thick Paper” or “Cardstock” setting increases the fuser’s temperature.
If the settings are correct, the fuser itself might be worn out or damaged.
You can often inspect the fuser unit, which is usually located at the back of the printer or accessible via a rear door. Look for any visible damage to the rollers, such as wrinkles, scratches, or built-up toner.
If you see clear damage, the fuser unit will likely need to be replaced. Brother provides specific instructions for checking for a damaged fuser on their support site.
When Smudges Appear on Only One Side of the Page
Sometimes, you might notice that the black smudges are consistently appearing on the same area of the page, such as down the left or right margin. This is often a strong clue.
A repeating mark at a regular interval points directly to a specific spot on the drum roller that has debris or damage.
However, if it’s a continuous streak along one edge, it could also be caused by a leaking toner cartridge or a problem with the transfer roller, which is the roller that sits beneath the drum unit.
Addressing Environmental and Paper Quality Factors
Environmental conditions can also play a surprising role in print quality.
High humidity is a common enemy of laser printers. Moisture in the air can cause paper to absorb dampness, which prevents the toner from fusing correctly.
An expert guide suggests maintaining a humidity level between 40-60% for optimal printing. Storing your paper in a dry, cool place can make a significant difference.
Furthermore, not all paper is created equal. Low-quality, rough, or overly absorbent paper could well lead to the Brother printer black smudges on paper issue you are experiencing.
For the best results, stick to paper that is specifically recommended for laser printers.
As noted in HP’s official documentation, using paper with ColorLok technology or other high-quality paper ensures better ink (or toner) absorption and a cleaner finish, a principle that applies across all printer brands.
Final Thoughts On Brother Printer Black Smudges On Paper
Dealing with a Brother printer black smudges on paper issue can certainly be a nuisance, but as we’ve seen, it’s often a problem you can solve yourself with a little patience and troubleshooting.
By regularly cleaning the drum unit and corona wire, using high-quality paper and genuine Brother toner cartridges, and ensuring your printer settings match your media, you can prevent most smudging issues from ever occurring.
Taking these preventative steps will not only keep your documents looking clean and professional but will also extend the life of your printer.
If you’ve tried all the steps and the problem persists, don’t hesitate to reach out to Brother’s official support or a certified technician for further assistance.
Frequently Asked Questions
Why does my Brother printer leave black smudges on the edge of the paper?
Black smudges appearing consistently on the edge of the paper are often caused by a buildup of toner on the rollers that guide the paper through the printer.
This can happen if the paper is not aligned correctly or if the rollers themselves are dirty. Cleaning the paper path and ensuring the paper guides are snug against the paper can often resolve this.
Can a new toner cartridge cause smudging?
Yes, sometimes a new toner cartridge can cause smudging, especially if it is a low-quality or refilled cartridge. It might be defective and leaking toner, or the toner formulation may not be compatible with your printer’s fuser temperature.
If you notice smudging immediately after installing a new cartridge, try reinstalling your old one to see if the problem disappears. If it does, the new cartridge is likely at fault.
How often should I clean my printer’s drum?
There is no fixed schedule for cleaning your printer’s drum; it depends entirely on your usage and printing environment. A good rule of thumb is to clean the drum unit and corona wire every time you replace the toner cartridge.
If you start to notice a decline in print quality, such as spots or smudges, that is also a clear sign that it’s time for a cleaning.
How To Clean Your Brother Printer’s Drum Unit To Fix Black Smudges
Now that we’ve covered the common causes, it’s time to get hands-on with the most effective solution: cleaning the drum unit.
This process is straightforward and is the exact method recommended by Brother to resolve smudging issues. By following these steps carefully, you can often fix the problem in about 15 minutes.
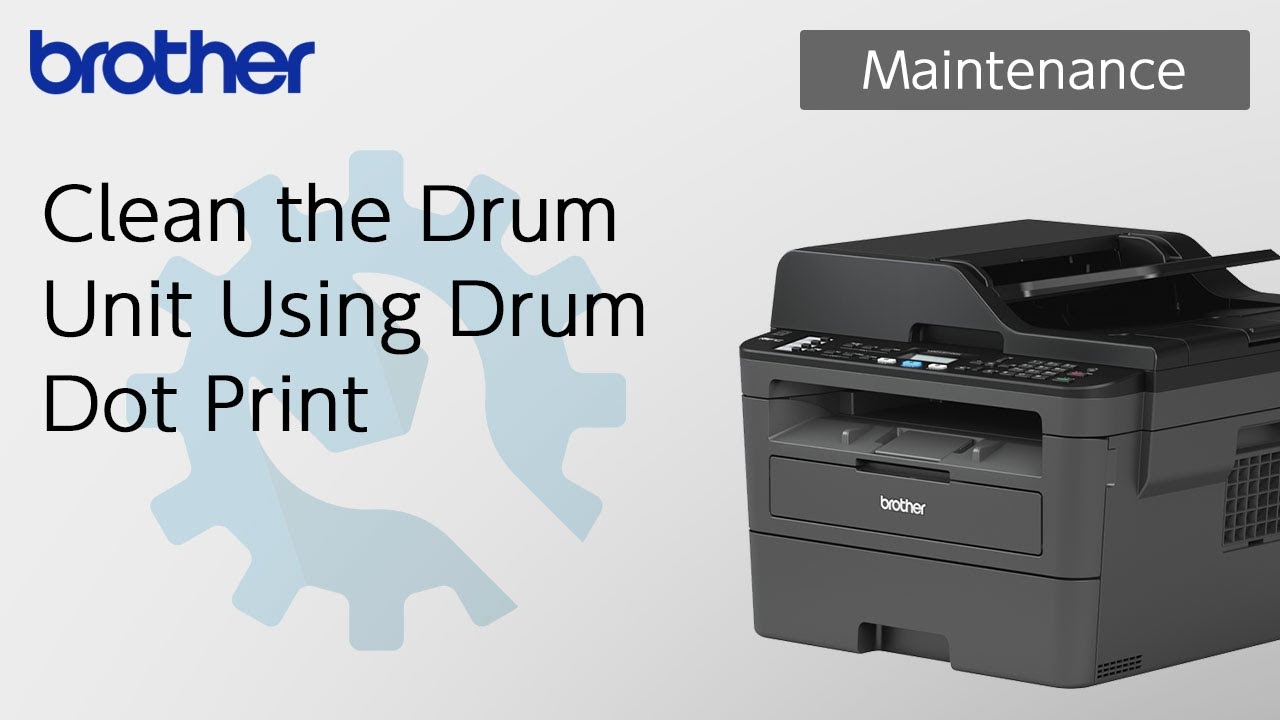
For a helpful visual guide, you can follow along with an official Brother tutorial on cleaning the drum unit (that hopefully was also embedded above) which walks you through the process.
Supplies Needed:
- Lint-free cloth
- Cotton swabs
- Isopropyl alcohol (70% or higher)
- A sheet of disposable paper
Step 1: Print the Drum Dot Check Sheet
Before you begin, it helps to know exactly where the problem is. Navigate your printer’s menu to ‘Print Reports’ and select ‘Drum Dot Print’. This will print a sheet with a pattern of dots that helps you locate the debris on the drum roller.
Step 2: Turn Off and Unplug the Printer
For safety, always power down your printer and unplug it from the wall outlet before opening it up.
Step 3: Remove the Drum and Toner Assembly
Open the front cover of your printer and carefully pull out the entire drum and toner cartridge assembly. Place it on a flat, clean surface, preferably on a sheet of disposable paper to catch any loose toner.
Step 4: Separate the Toner Cartridge
Locate the green or blue lock lever on the side of the drum unit and push it down to release the toner cartridge. Gently lift the toner cartridge out and set it aside.
Step 5: Inspect and Clean the Drum Surface
Using the Drum Dot Check Sheet as a guide, inspect the shiny surface of the drum roller for any visible dust, toner buildup, or debris. Gently rotate the drum by its gear to inspect the entire surface. Moisten a cotton swab with isopropyl alcohol and carefully wipe away any marks. Afterwards, use a dry, lint-free cloth to ensure the surface is completely dry.
Step 6: Clean the Corona Wire
While you have the drum unit out, clean the corona wire. Gently slide the small green or blue tab back and forth along the wire several times. It is very important to return the tab to its original home position, aligning the arrows, to prevent a vertical stripe from appearing on your prints.
Step 7: Reassemble and Test
Once the drum is clean and dry, reinsert the toner cartridge until it clicks into place. Slide the entire assembly back into the printer, close the cover, plug it in, and turn it on. Print a test page to see if the smudges are gone.
Finally be sure to check out our Tech Troubleshooting FAQ or our Printer Troubleshooting Tips pages for even more general tips that cover a wide range of technical problems and solutions.
(If after reading the above article you still have a “Brother Printer Black Smudges on Paper” problem, then you might find a much less obvious solution on the above tech pages!)